
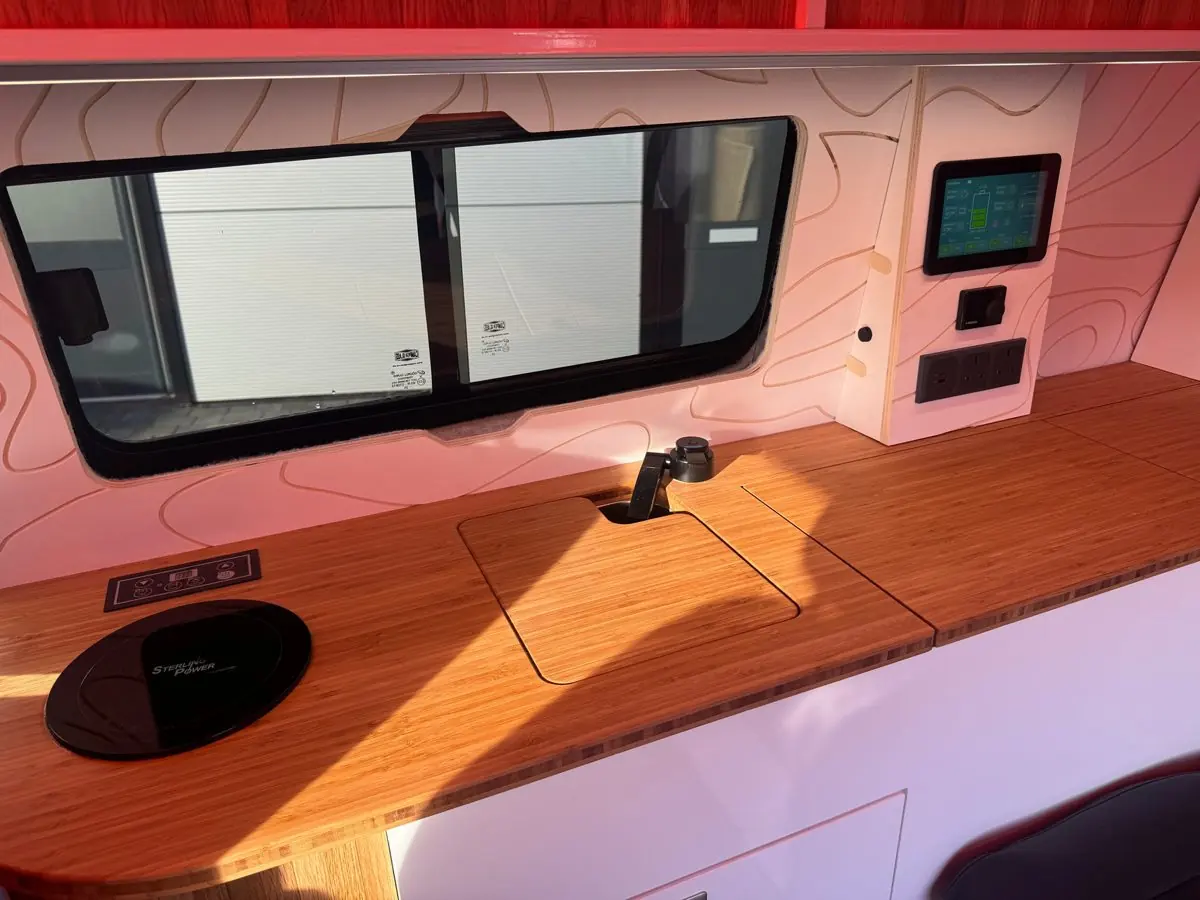
Your water system2 options
Whether you have the standard 12 litre under-sink tank or the upgraded underslung tank, regular care keeps your water fresh, protects your equipment and makes sure your water is safe to drink. Choose your system.
Under-cupboard tank (standard)
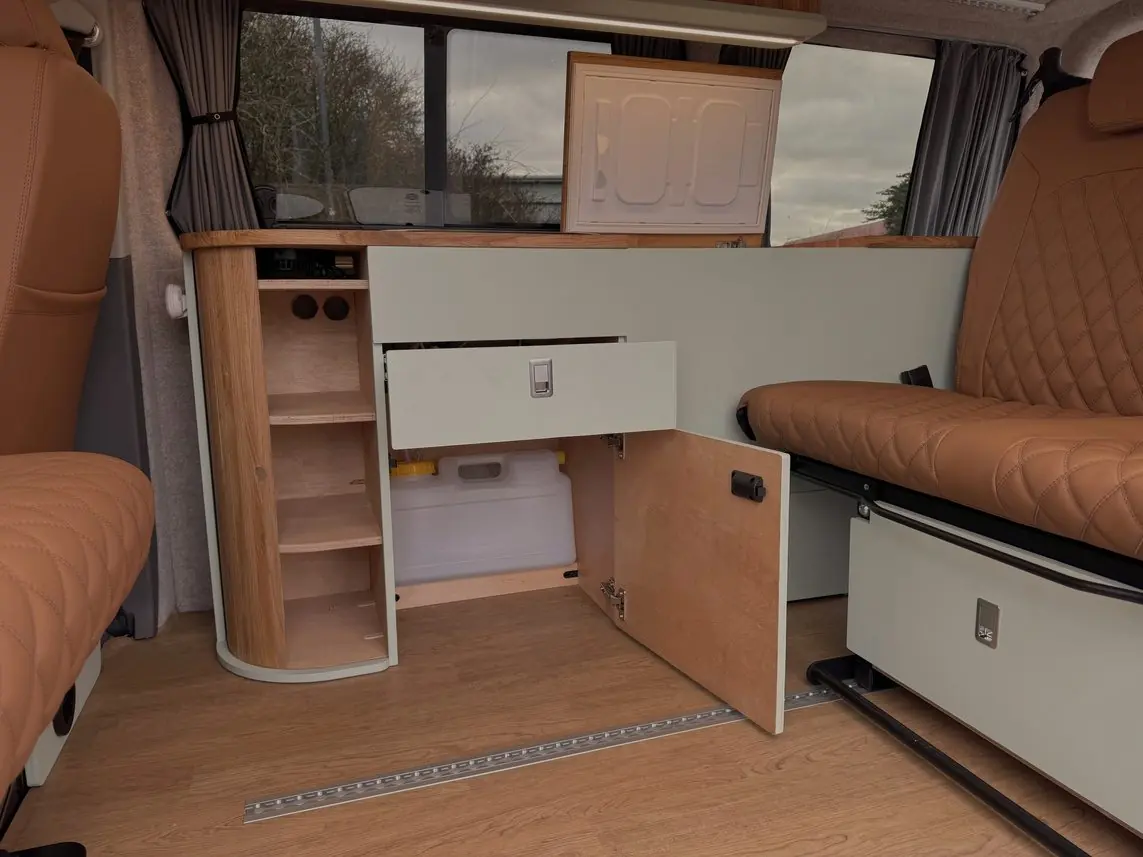
How it works
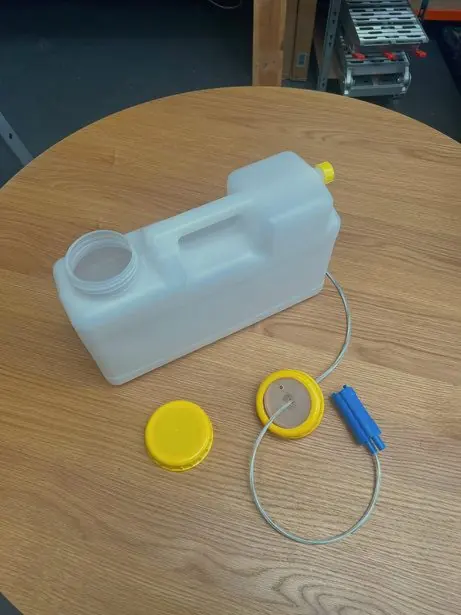
A submersible pump sits inside the tank. It draws water through the pipework and delivers it to the tap. Keep the pump fully submerged for it to work properly.
Filling the tank
Unscrew the two-part lid and carefully lift out the pump, leaving it attached to the lid. Carry the tank to your water source and fill it. Fit the solid cap provided before carrying it, to prevent spills.
Emptying the tank
Run the water through the tap. Or unscrew the two-part lid, lift out the pump (leaving it attached to the lid), carry the tank to a drain and empty it completely.
Underslung tank (upgrade)
Filling the tank
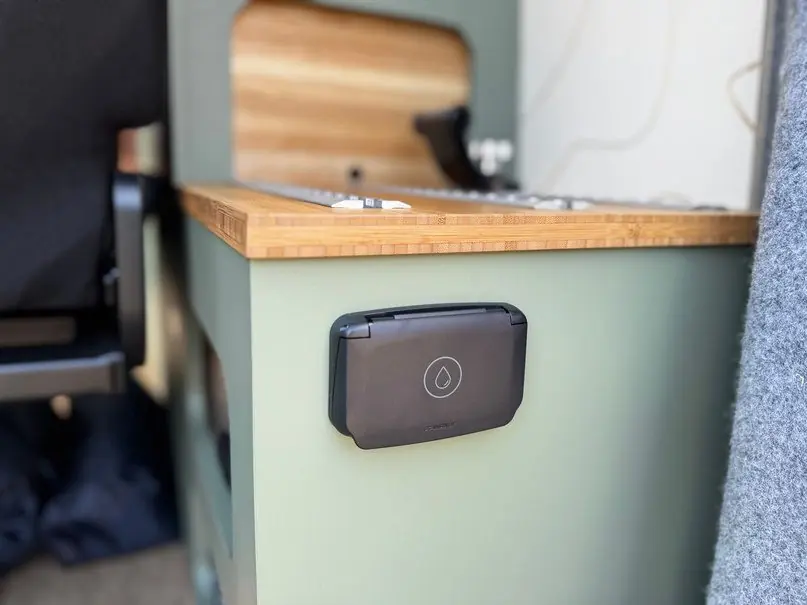
Connect a food-grade hose to the water inlet/outlet at the bottom right-hand side at the rear of the van (picture B). Turn the blue valve away from you so it lines up with the outlet, then turn on the water. When water flows steadily from beneath the vehicle, the tank is full. Turn the valve to face down to stop the flow.
Emptying the tank
We recommend simply running the sink tap inside the vehicle until the tank is fully drained.
Pump
The pump is behind the furniture, with a switch underneath the sink (or on the touchscreen if you have one). Switch the pump off when the tank is empty, or it will run constantly.
Outlets
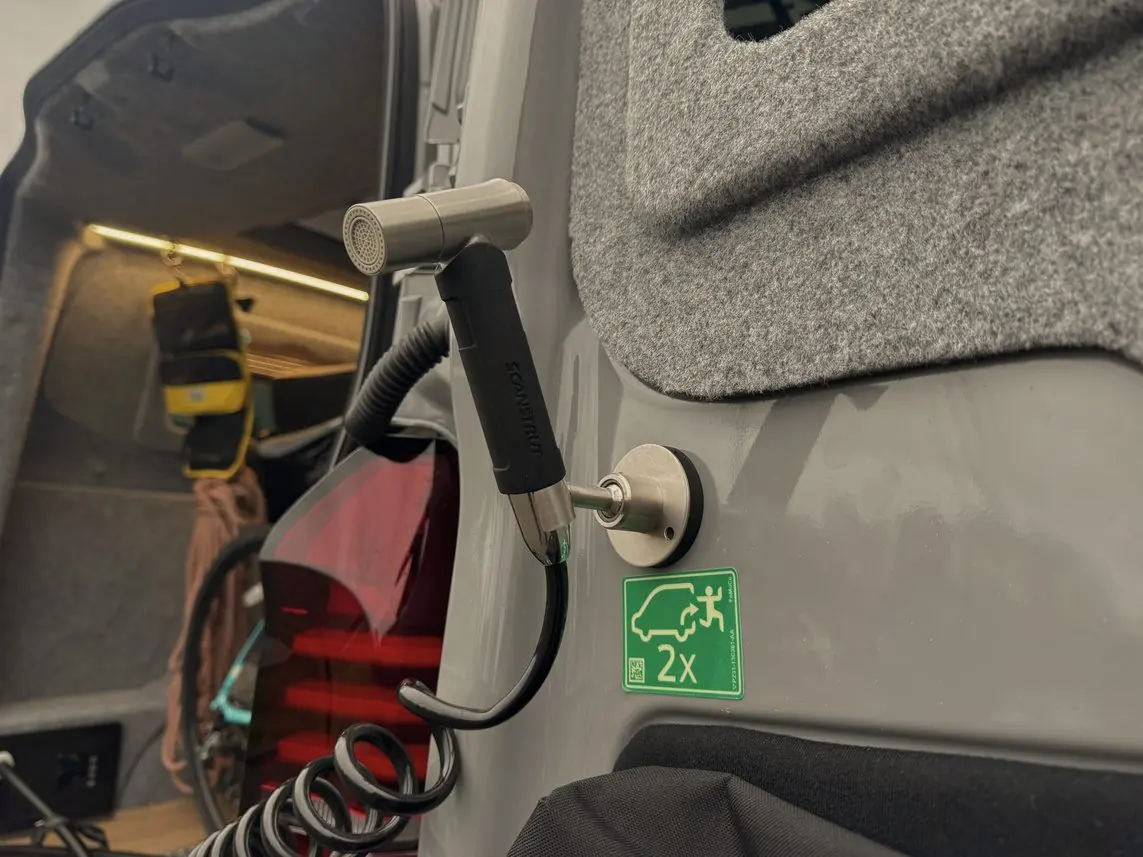
The supplied Scanstrut shower head connects to the outlet at the rear of the furniture unit (picture A). Or connect a hose to the external inlet/outlet under the rear of the van (picture B). Turn the blue valve towards you to start the flow, and downwards to stop it.
Before freezing weather4 steps
Drain the whole water system: the fresh water tank, the grey water tank and any external hoses.
- Open all the taps and let the pump purge the water from the plumbing.
- Turn the pump off.
- Leave the taps open, so the pipes are empty and anything left has room to expand.
- Leave a note at the fill point as a reminder that the plumbing is disconnected.
Non-toxic antifreeze can be used, but draining completely is the only real guarantee.
Water expands as it freezes. Trapped in a pipe, pump or tap, it can split fittings that then leak as soon as it thaws. Leaving the taps open gives any last drops room to expand.